Virtual reality is more popular than ever. From games to architecture, VR gives users a new way to explore digital worlds. However, building smooth VR scenes takes more than just good design. You need strong VR rendering.
In this guide, we’ll show you how to optimize graphics for virtual reality. You’ll learn what makes VR rendering unique, and how to make your scenes run better. Whether you’re a developer or a 3D artist, these tips will help you create a better VR experience.
What Is VR Rendering?
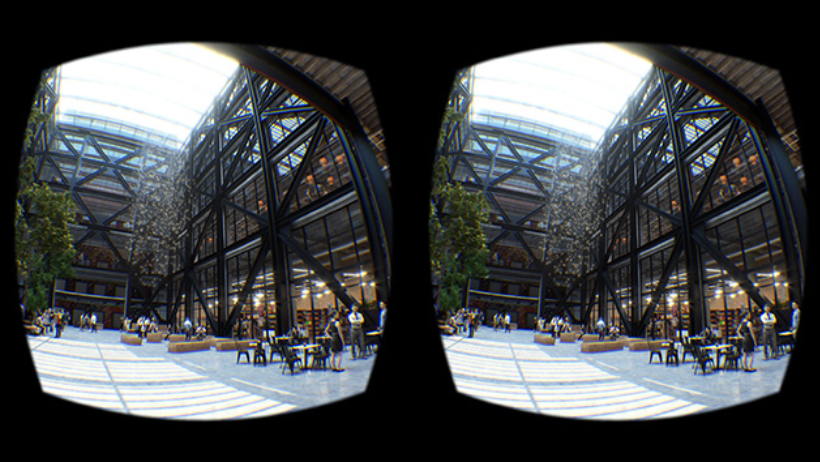
VR rendering is the process of creating real-time 3D graphics for virtual reality. Unlike regular 3D rendering, VR requires two images—one for each eye. This adds more work for your system.
Also, VR demands high frame rates. While 30 FPS works for normal games, VR often needs 90 FPS or more. If frames drop, users may feel sick or dizzy. So, optimizing is key.
Why Optimization Matters in VR Rendering
Poor performance ruins immersion. Users expect smooth, responsive worlds. That’s why VR rendering must be fast and stable. Here’s why it matters:
- Prevents motion sickness
- Improves tracking and controls
- Saves power and heat on headsets
- Allows better visuals without slowing down
In short, optimization helps you balance quality and speed.
Key Challenges in VR Rendering
VR rendering has special requirements. You must render:
- Two views at once
- High-resolution frames
- Complex scenes in real time
Because of this, developers must plan carefully. Let’s explore how to solve these challenges.
1. Use Level of Detail (LOD)
LOD means changing model detail based on distance. Far objects use simpler models. This reduces the load on your system.
Tips:
- Set clear distance rules for LOD switching
- Keep transitions smooth to avoid “popping”
- Combine with culling for best results
Together, LOD and smart culling save lots of resources.
2. Bake Lighting Where Possible
Dynamic lighting looks great, but it’s costly. For static scenes, baked lighting works better. It saves GPU power and boosts frame rates.
Use baked lights for:
- Indoor scenes
- Architectural renders
- Fixed props and walls
However, use real-time lights for moving parts.
3. Optimize Textures
High-res textures look sharp, but they use lots of memory. Instead:
- Use compressed texture formats
- Mip-map your textures
- Reuse texture atlases
Also, check for hidden or tiny objects. You don’t need high detail there.
4. Reduce Draw Calls
Too many draw calls slow things down. Each object, material, and shadow can increase this count.
To fix this:
- Combine static meshes
- Use instancing for repeated objects
- Limit material swaps
In many cases, simple scenes run smoother and look just as good.
5. Balance Resolution and Frame Rate
Yes, sharp visuals matter. But frame rate comes first in VR. Try these tricks:
- Use dynamic resolution scaling
- Reduce pixel density if needed
- Target 90 FPS minimum
Most importantly, test on real VR devices—not just your monitor.
6. Use Foveated Rendering
Foveated rendering focuses detail where the user is looking. The edges get lower quality. Since the human eye only sees detail at the center, this trick works well.
Benefits:
- Lower GPU usage
- Better visual focus
- Works with eye-tracking VR gear
It’s one of the best ways to speed up modern VR rendering.
7. Test, Measure, Repeat
Optimization is never one-time. Use tools to measure:
- Frame time
- GPU and CPU usage
- Latency and stutter
Tools like Oculus Debug Tool or SteamVR Performance Graph help you find bottlenecks. Once you fix one issue, test again.
Over time, your VR rendering pipeline will get faster and smoother.
>>> Read more: Texture Filtering in 3D Graphics: Types, Use Cases, and Performance Impact
Bonus: Use Light Probes and Reflection Probes
For mobile or low-power VR, baked lighting isn’t enough. Light probes help bring dynamic effects to baked scenes. Use reflection probes for better surface realism.
These tricks enhance visuals without hurting performance.
Popular Engines for VR Rendering
Many developers use these tools for VR rendering:
- Unity: Easy to use, large community
- Unreal Engine: Best for high-end visuals
- Blender + VR Plug-ins: Great for previews
Each tool has its own optimization methods. Read their docs and use built-in profiling tools.
Final Thoughts on VR Rendering
Optimizing VR rendering is part science, part art. You need to understand both your hardware and your users. But with smart choices, your virtual world can be smooth, clear, and immersive.
Keep your frame rate high. Keep your scenes clean. Use the right tools. And always test in real VR gear.
Render VR Projects Faster with 3S Cloud Render Farm
Even with optimizations, complex scenes take time. That’s why many artists use cloud tools. 3S Cloud Render Farm helps you render heavy VR scenes faster and without stress.
It supports Blender, Unreal Engine, and other major tools.