When working with Blender, one of the most powerful and versatile 3D creation suites, getting the perfect 3D render can sometimes be a challenge. Whether you’re creating animations, stills, or visual effects, rendering problems in Blender are a common occurrence. But don’t worry – most issues have simple solutions. In this article, we will cover 10 of the most common Blender 3D render mistakes and how to fix them so that you can produce professional-quality results every time.
1. Low-Quality Render Settings
A frequent mistake made by beginners is using low-quality render settings to save time. While it’s okay to use lower settings during the early stages of the project, rendering your final image or animation at low quality can result in poor details, visible noise, and pixelation.
How to fix rendering problem in Blender:
- Go to the Render Properties panel and increase the sampling settings under Cycles or Eevee.
- For Cycles, increase the samples in the Sampling section (both Render and Viewport).
- In Eevee, make sure Ambient Occlusion, Screen Space Reflections, and Bloom are enabled for a more polished result.
Improving your render quality settings can make a huge difference in the final output, ensuring clean, high-quality images.
2. Incorrect Lighting Setup
Lighting is one of the most critical aspects of 3D render success, and improper lighting can lead to dull, flat renders. Common issues include using too few lights, using lights at wrong angles, or using too intense lights that cause harsh shadows.
How to fix rendering problem in Blender:
- Experiment with three-point lighting for balanced, professional results.
- Use Area Lights or HDRIs to achieve soft lighting and realistic reflections.
- Adjust the Strength and Position of lights to better highlight your subject.
With proper lighting, you can create more dynamic, visually appealing renders.
3. Lack of Textures or Incorrect Texture Mapping

Textures are essential in 3D renders. A model with no texture or improperly applied textures can look unrealistic. Sometimes, UV mapping issues or incorrectly scaled textures can also result in errors.
How to fix rendering problem in Blender:
- Ensure that all models are correctly unwrapped using UV mapping techniques.
- In the Shader Editor, add a Principled BSDF Shader and apply appropriate textures to each model.
- Use Image Textures to apply details such as fabric, wood, or metal. You can also use Normal Maps to add more surface detail without increasing geometry.
By applying detailed and realistic textures, you can enhance the realism of your renders.
4. Wrong Camera Angles and Field of View
Incorrect camera settings can lead to awkward perspectives and distortion in your 3D render. Often, beginners forget to adjust the field of view (FOV) or the camera’s depth of field, which can result in renders that look unnatural.
How to fix rendering problem in Blender:
- Adjust the camera angle to get the right perspective for your scene.
- In the Camera Properties, set the focal length to adjust the field of view.
- Use Depth of Field in the camera settings for realistic blurring effects.
These adjustments help in framing your scene and ensuring your camera perspective is correct.
5. No Anti-Aliasing or Too Much Noise
When rendering, aliasing can cause jagged edges, while noise in the render can degrade the overall quality, especially in low-light areas.
How to fix rendering problem in Blender:
- Increase the samples for Anti-Aliasing in the Render Settings to reduce jagged edges.
- For noise, raise the samples under Render Properties to get smoother results.
- Enable Denoising (available in both Cycles and Eevee) to remove noise while maintaining details.
By improving anti-aliasing and reducing noise, you will get smoother, more professional-looking renders.
6. Inadequate Render Time for Detailed Scenes
Sometimes, renders come out too noisy or incomplete because there wasn’t enough time allocated for them. This is often a result of either too low sample settings or insufficient render time on more complex scenes.
How to fix rendering problem in Blender:
- Increase the samples under Cycles for higher-quality renders.
- For Eevee, adjust the render resolution and make sure motion blur is turned on for smoother animations.
- Use Render Layers or Compositing to break your scene into manageable chunks.
Giving your scene enough time and resources will ensure a clean, polished render.
7. Wrong Render Engine Selection
Blender offers two primary rendering engines: Cycles and Eevee. Cycles is great for high-quality photorealistic rendering, while Eevee is optimized for real-time rendering and fast previews. Choosing the wrong engine for your project can lead to slower renders or suboptimal results.
How to fix rendering problem in Blender:
- Use Cycles for high-quality photorealistic renders, especially for final outputs.
- Use Eevee for faster renders, previews, or when working with simpler scenes or animations.
- Always set the render engine in Render Properties to the appropriate choice based on your project’s needs.
Selecting the right render engine can speed up your workflow and ensure you get the desired output.
8. Too Many Unnecessary Objects in Your Scene
Including too many unnecessary objects, lights, or hidden items in your scene can increase render times and cause memory issues. These extra objects can also lead to clutter and inaccuracies in the final render.
How to fix rendering problem in Blender:
- Use Collections to organize your scene and hide unnecessary objects during rendering.
- Use the Visibility settings in the Outliner to hide objects that don’t need to appear in the render.
- Delete or hide elements that are not contributing to the final scene.
Keeping your scene clean and organized improves both the speed and quality of your renders.
9. Incorrectly Set Render Resolution
Another common mistake is not setting the proper resolution for the render output. This can lead to blurry images or unnecessary file size bloat if the resolution is too high or too low.
How to fix rendering problem in Blender:
- Set the correct output resolution in the Output Properties panel.
- Use a 16:9 or 4:3 aspect ratio for most renders, or adjust based on your project’s needs.
- If your render takes too long, consider lowering the resolution temporarily for testing purposes.
Choosing the right resolution ensures that your renders are sharp and well-suited for the final project.
10. Ignoring Hardware Limitations
Your computer’s hardware might not be powerful enough for heavy scenes, resulting in long render times, crashes, or low-quality outputs.
How to fix rendering problem in Blender:
- Optimize your scene by reducing polygon count, using lower resolution textures, or simplifying lighting.
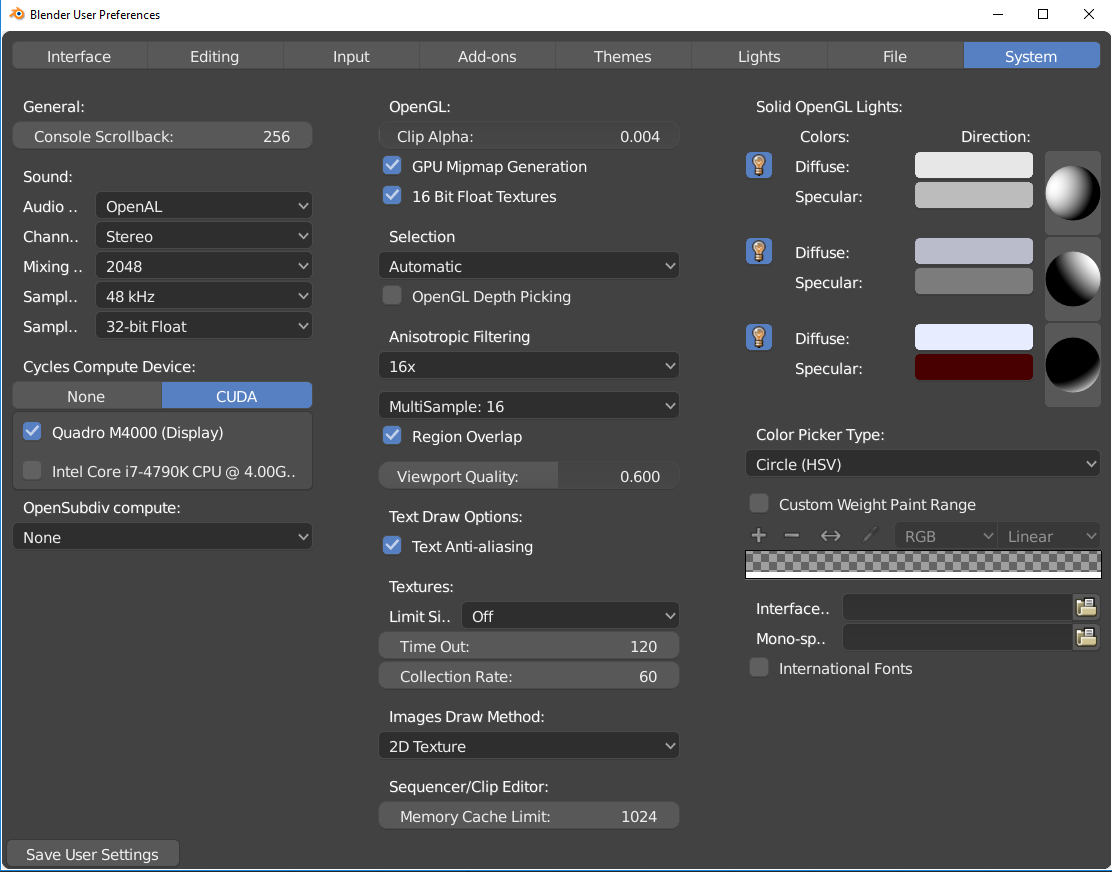
- Use GPU rendering if your graphics card supports it for faster results.
- If necessary, use a render farm to offload the rendering to more powerful servers.
For large-scale projects, consider using 3S Cloud Render Farm for reliable and fast rendering without overloading your computer’s resources.
>>> Read more: A Beginners’ Guide to 2D Animation in Blender
Conclusion
Blender offers endless possibilities for creating stunning 3D renders, but it’s common to encounter mistakes along the way. By understanding and fixing these common 3D render issues, you can improve your workflow and ensure better-quality results. Whether you’re a beginner or an experienced artist, addressing these mistakes will save you time and frustration.
If you’re struggling with render times or complex scenes, consider using 3S Cloud Render Farm. Our cloud rendering services will help you speed up the process, delivering high-quality results without compromising your computer’s performance.