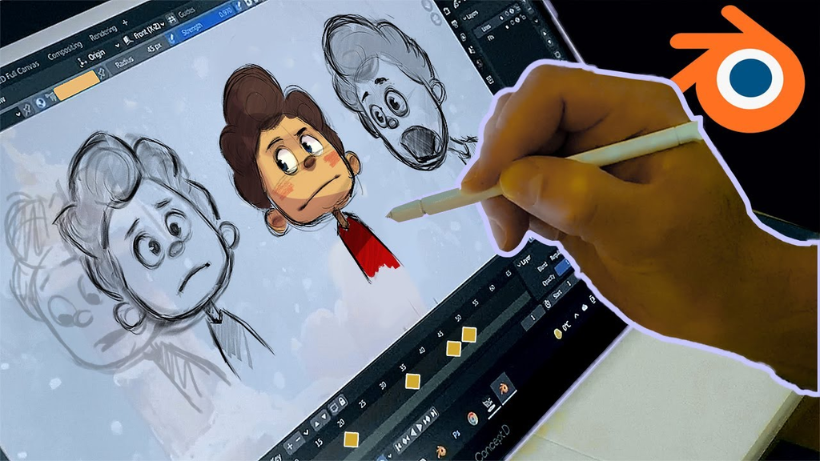
Why Use Blender for 2D Animation?
There are many tools made for 2D animation—but Blender stands out for a few great reasons:
- Free and open-source: Blender is 100% free to use, and it has a large, helpful community.
- Grease Pencil tool: This unique feature makes it easy to draw and animate directly in the Blender viewport.
- Mixing 2D and 3D: Blender allows you to blend 2D drawings with 3D environments, giving you endless creative options.
Whether you’re working on storyboards, concept art, or a full 2D animation, Blender can do it all in one place.S
Step 1: Setting Up the 2D Animation Workspace
To get started, you’ll first need to enter the 2D workspace:
- Open Blender.
- From the splash screen, click “2D Animation” under the “New File” section.
- Blender will load a workspace made for 2D animation using the Grease Pencil.
If you already have a project open, go to File > New > 2D Animation, or click the “+” tab on the top menu and select 2D Animation.
Want a quick visual walk-through? Check out this YouTube tutorial:
👉 How to Start 2D Animation in Blender
Step 2: Getting to Know the Grease Pencil Tool
Blender’s Grease Pencil is the star of the 2D workspace. It allows you to:
- Draw freehand sketches.
- Create animation frames.
- Adjust brush settings like thickness and opacity.
- Organize strokes into layers.
- Use onion-skinning to see previous and next frames.
You can use the Grease Pencil for anything—from character animation to storyboarding to visual effects.
Step 3: Drawing and Animating
Now comes the fun part—drawing and animating your first scene:
- Use the Draw tool to sketch your character or object.
- Press I to insert a keyframe at the current frame.
- Move the timeline to a new frame.
- Draw the next pose or position.
- Press I again to insert another keyframe.
Blender will show your previous drawings as transparent overlays using onion skinning, which makes it easier to keep your animation smooth and consistent.
Keep repeating these steps until you complete your scene.
Step 4: Add Color and Style
Once your animation is set, you can improve its look by:
- Using the Fill tool to add color to closed shapes.
- Changing stroke colors for different parts of your drawing.
- Adding shadows or highlights for depth.
- Applying blur or motion lines for action effects.
Blender gives you full creative freedom to customize your 2D animation just the way you like it.
Step 5: Exporting Your 2D Animation
Ready to share your animation with the world? Here’s how to export it:
- Go to the Render Properties tab (TV icon).
- Use the Eevee render engine (best for 2D work).
- Click the Output Properties tab (printer icon).
- Set your resolution (1920×1080 is the default).
- Under Output > File Format, choose FFmpeg Video.
- In Encoding, select MPEG-4.
- Choose your output folder and click Ctrl + F12 to render.
Once finished, your animation will be saved as a video file.
When Should You Use 2D Animation in Blender?
You might be wondering, “What can I actually use 2D animation on Blender for?” Here are a few ideas:
- Storyboarding: Plan scenes with animated sketches.
- Concept Art: Draw character designs before modeling in 3D.
- Hybrid Animation: Mix 2D art with 3D models.
- Traditional 2D Projects: Create classic 2D animations with modern tools.
Boost Your Workflow with Cloud Rendering
Rendering complex 2D and hybrid projects can still take time—especially with longer timelines or effects. That’s where 3S Cloud Render Farm comes in. Our high-speed cloud rendering service helps you:
- Render faster using powerful GPU servers.
- Work from anywhere with cloud access.
- Focus more on creativity, not technical delays.
Whether you’re working on a short animation or a full-length project, our render farm supports Blender projects of all sizes.
Conclusion
Creating 2D animation in Blender is a fun and flexible process. From setting up your workspace to drawing with Grease Pencil and rendering your final scene, everything can be done in one place.
So why not give it a try? Check out the YouTube tutorial here, and start animating your own stories today. And if you need help with rendering, remember — 3S Cloud Render Farm has your back!
