Architectural visualization has become an essential part of design. Today, clients expect not just 2D drawings but also realistic images that bring projects to life. Luckily, with Rhino and V-Ray, architects and designers can create high-quality renders that look professional and convincing.
In this guide, we will explore how Rhino and V-Ray work together, why they are so powerful, and how you can start creating stunning architectural visualizations.
What is Rhino and V-Ray?
First, let’s talk about the basics. Rhino is a popular 3D modeling software widely used in architecture, product design, and engineering. It is known for its flexibility, precision, and ability to handle complex geometry.
On the other hand, V-Ray is a rendering engine that works as a plugin inside Rhino. It transforms 3D models into photorealistic images with detailed lighting, textures, and materials. In other words, Rhino provides the model, and V-Ray brings it to life.
Why Use Rhino and V-Ray for Architecture?
There are many tools out there, but Rhino and V-Ray stand out for several reasons.
- First, they allow you to stay inside one workflow. You don’t need to export models to another platform.
- Second, V-Ray gives you total control over lighting, materials, and cameras.
- Third, you can balance speed and quality. For quick drafts, V-Ray has interactive rendering, while for final images, you can push settings to the highest quality.
As a result, you can save time, improve presentations, and make your designs more convincing to clients and stakeholders.
Getting Started with Rhino and V-Ray
Installing V-Ray in Rhino
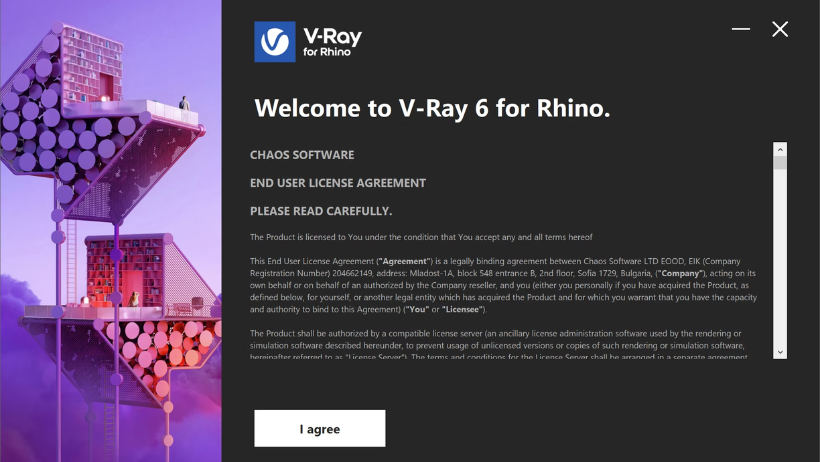
To begin, you need to install V-Ray for Rhino. After downloading from Chaos Group, simply run the installer, agree to the license, and choose your Rhino version. Once installed, the V-Ray toolbar will appear directly in Rhino, making it easy to access.
Setting Up the Interface
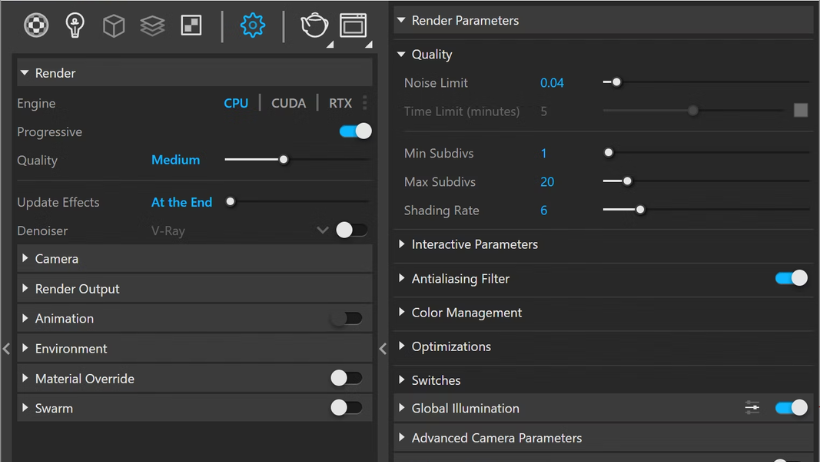
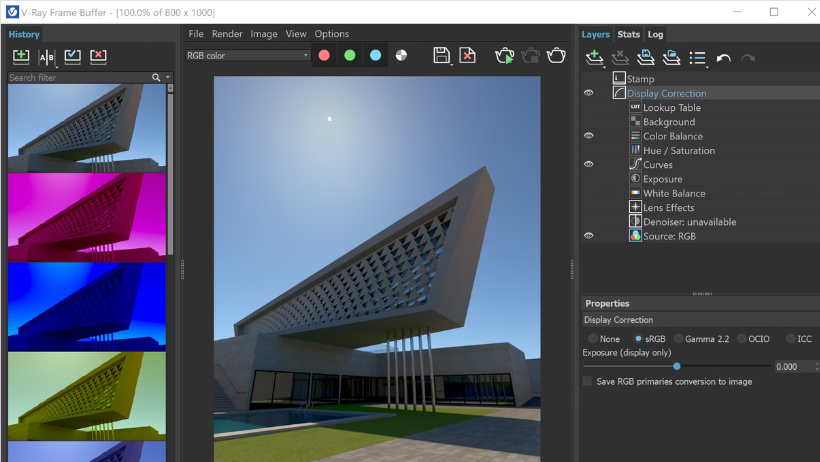
Next, familiarize yourself with the Asset Editor and the V-Ray Frame Buffer (VFB). The Asset Editor is where you manage materials, lighting, and render settings. Meanwhile, the VFB is where you see and adjust your rendered images.
Therefore, before diving into complex projects, spend some time exploring these two interfaces.
Key Features You Should Know
Render Settings
V-Ray offers flexible render settings. You can adjust resolution, quality, shadows, reflections, and more. For example, for quick concept renders, use lower-quality settings. But for client-ready images, increase the quality for more realism.
Lighting
Lighting is everything in visualization. V-Ray provides many light types, including SunLight, Dome Light, Spot Light, and Rectangle Light. For instance, Dome Light with an HDRI map is excellent for realistic daylight, while Spot Light is perfect for highlighting details.
Materials and Textures
With the V-Ray Material Editor, you can create or customize materials easily. Moreover, you can use V-Ray’s preset library to quickly add realistic glass, wood, concrete, or metal without starting from scratch.
Tips for Stunning Architectural Visualization
- Use HDRI environments for natural lighting.
- Adjust exposure and color balance in the V-Ray Frame Buffer instead of re-rendering.
- Combine multiple light sources for a more dynamic look.
- Optimize render settings to balance speed and quality.
In addition, don’t forget to test your renders at smaller resolutions first. This saves time while you experiment with materials and lights.
Speed Up with Cloud Rendering
Even though Rhino and V-Ray are powerful, rendering complex architectural scenes can take hours. Fortunately, this is where 3S Cloud Render Farm comes in.
By using cloud rendering, you can:
- Access multiple GPUs for faster rendering.
- Render large projects without worrying about hardware limitations.
- Free up your computer to keep designing while rendering happens in the cloud.
- Pay only for what you use, making it cost-effective.
In short, combining Rhino and V-Ray with 3S Cloud Render Farm ensures that your workflow is not only professional but also efficient.
Conclusion
To sum up, Rhino and V-Ray are a perfect match for architectural visualization. Rhino handles complex modeling, while V-Ray transforms designs into photorealistic images. By learning the basics of installation, settings, lighting, and materials, you can start creating visuals that impress clients and communicate your vision clearly.
And if rendering speed is slowing you down, remember that 3S Cloud Render Farm can help you cut render times dramatically while keeping your workflow smooth.