If you’re working with Redshift rendering, having a clear and simple workflow can save you a lot of time. Whether you’re just starting or already have some experience, understanding each step of the process—from setting up your scene to exporting the final output—is key. In this blog, 3S Cloud Render Farm walks you through a beginner-friendly Redshift rendering workflow using simple language and helpful tips.
Let’s begin!
1. Start with a Clean Scene Setup
First of all, always begin with a clean and organized scene. This will help avoid problems later. Remove any unused assets and name your objects clearly. For example, name your lights, cameras, and models based on their purpose.
Moreover, place your objects correctly in the scene. This makes it easier to apply lighting and materials later. Keeping things tidy is the first step toward a smoother Redshift rendering process.
2. Choose the Right Render Engine: Production vs. Real Time
Redshift offers two main rendering engines:
- Redshift Production Renderer – Best for final output with high quality.
- Redshift Real Time (RT) – Great for quick previews and faster scene feedback.
For example, if you’re still setting up lighting or testing shaders, use Redshift RT. It updates in near real time, which helps you make creative decisions faster. However, when you’re ready to export your final image or animation, switch to Production mode for better quality.
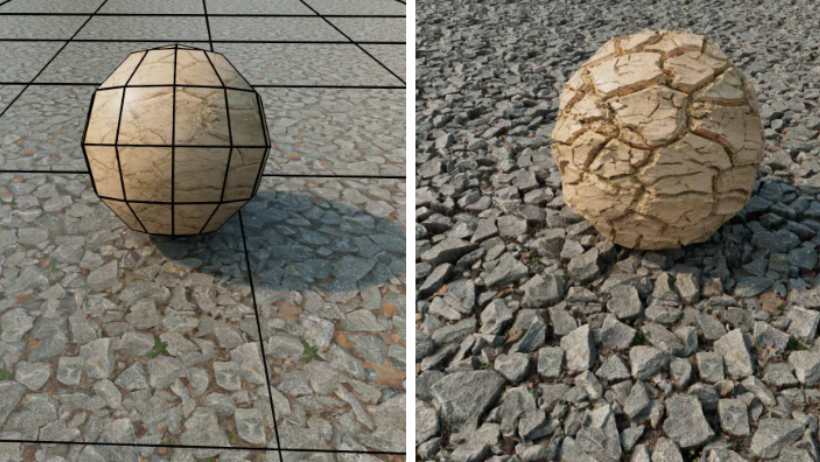
3. Apply Materials and Shaders
After setting up the scene and choosing the engine, the next step is applying materials. Redshift supports the same materials across both engines, so you don’t need to remake them when switching from RT to Production.
You can use Redshift Standard Materials for most needs. Just drag and drop them onto your objects. Additionally, you can fine-tune them using texture maps like bump, normal, and roughness. This adds realism to your renders.
Tip: Keep shaders simple during look development to improve speed, then refine them before the final render.
4. Add and Adjust Lighting
Next, it’s time to light your scene. Redshift supports a variety of lights—like Area Lights, Spotlights, and HDRI domes.
When using Redshift Real Time, you can see how light interacts with your objects instantly. This makes it easier to position lights and test shadows.
Also, don’t forget to enable Global Illumination (GI) if you’re aiming for realistic lighting. It bounces light between surfaces and creates a more natural look.
5. Set Render Quality and Adjust Settings
Before rendering, adjust the quality settings depending on the engine you’re using.
- For Redshift Real Time, use Progressive Passes to control how clean the image becomes. Higher values give better quality but may reduce performance.
- For Production mode, use Final Rendering with higher sample settings to reduce noise and improve image clarity.
In both cases, you can also enable Denoising to clean up your render faster.
Tip: Keep your trace depth settings low in RT to maintain speed. Increase them only when needed, especially for glass or reflection-heavy scenes.
6. Render and Export
Once you’re happy with how everything looks, go ahead and hit render. If you are rendering animations, make sure your output settings are correct—like resolution, format (EXR, PNG, etc.), and frame range.
If your machine can’t handle heavy scenes, don’t worry. That’s where 3S Cloud Render Farm can help! With high-performance GPU power ready to go, you can render your Redshift projects much faster—no matter how complex.
Final Thought
To sum up, mastering the Redshift rendering workflow doesn’t have to be difficult. By organizing your scene, picking the right engine, using simple materials, lighting smartly, and adjusting settings step-by-step, you can get high-quality results without stress.
And if your local machine starts to slow down, 3S Cloud Render Farm is always here to support you. We offer cloud-based rendering with Redshift, optimized for speed and ease of use.
Ready to boost your rendering workflow? Try 3S Cloud Render Farm today and render smarter, not harder.
>> Read more: How to Install Redshift for Houdini: A Step-by-Step Guide