Are you looking for a faster way to animate your 3D characters in Blender? Instead of spending hours manually keyframing each movement, you can use motion capture in Blender to bring your characters to life quickly and realistically.
In this beginner-friendly guide, we’ll walk you through everything you need to know about using motion capture in Blender—from importing data to retargeting and refining your animations.
What Is Motion Capture?
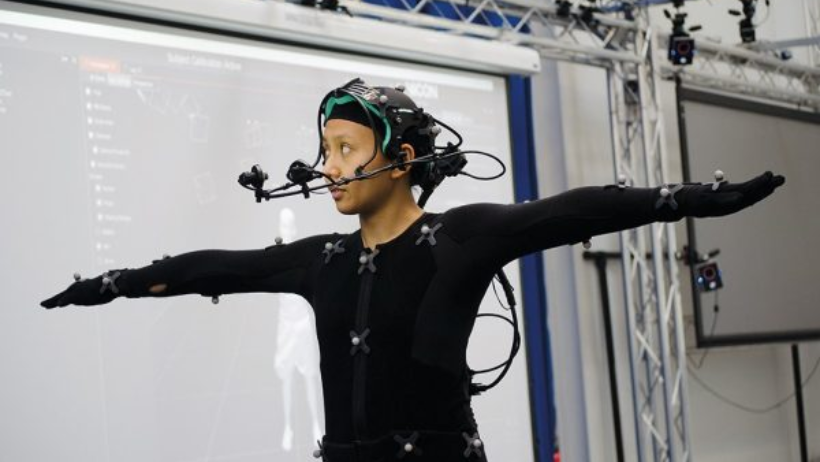
Motion capture (or mocap) is the process of recording real-life movements and applying them to digital characters. With Blender, you can import this recorded data and use it to animate your 3D models. This helps save a lot of time and creates more natural, fluid motion.
Why Use Motion Capture in Blender?
Blender is free, open-source, and packed with tools and add-ons that support motion capture animation. Whether you’re creating games, short films, or personal projects, Blender is a powerful tool for working with mocap.
Here are a few reasons why mocap in Blender is a great choice:
- It saves time compared to hand-animating.
- You get realistic human movement.
- It’s perfect for game-ready characters or film-quality animation.
- Blender supports BVH and FBX formats—the most common mocap file types.
Step 1: Preparing Blender for Motion Capture
Before you begin, make sure you have the latest version of Blender. You might also want to install a few helpful add-ons:
- Auto-Rig Pro – This simplifies the process of retargeting motion capture data to your custom character rig.
- Rokoko Studio Live Add-On – If you’re using a Rokoko suit, this streams live data into Blender.
- MakeWalk – Great for importing and working with BVH files.
Step 2: Importing Mocap Data into Blender
There are two common file types for mocap: BVH and FBX. Blender supports both.
Importing BVH Files
- Go to File > Import > Motion Capture (.bvh).
- Choose your BVH file.
- Once imported, you’ll see a skeleton (called an armature) in the 3D viewport.
If the scale is off, press S to resize the skeleton and R to rotate.
Importing FBX Files
- Go to File > Import > FBX (.fbx).
- Select your mocap file and click Import.
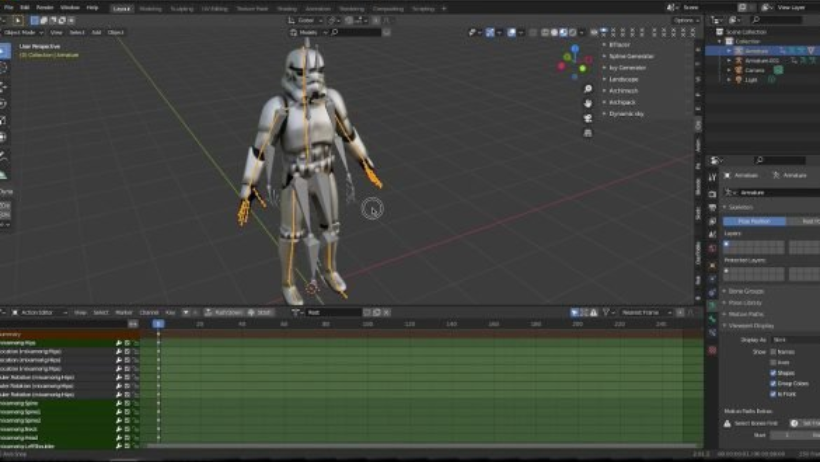
- Blender will load the skeleton and animation.
Step 3: Retargeting Mocap to Your Character
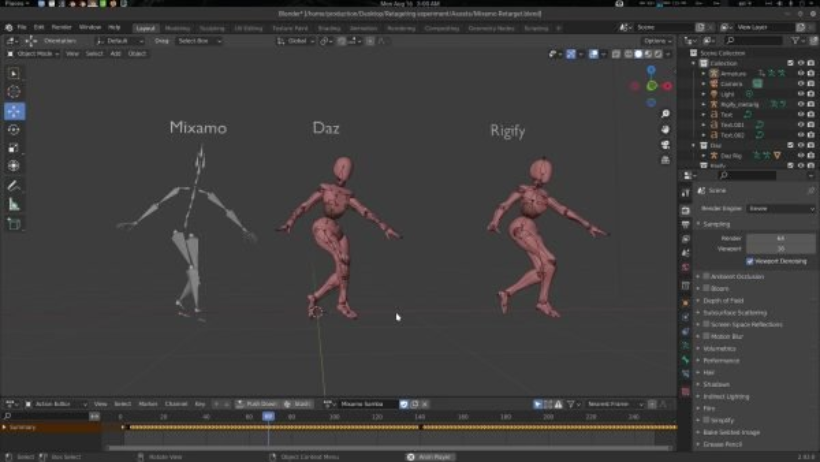
After importing the mocap skeleton, you’ll need to retarget the animation to your character’s rig.
Option 1: Using Auto-Rig Pro (Recommended)
- Select both the mocap skeleton and your character rig.
- Use Auto-Rig Pro’s Retarget feature to map bones.
- Adjust bone constraints as needed.
Option 2: Manual Retargeting
If you’re not using Auto-Rig Pro:
- Use bone constraints (like Copy Rotation) to connect the mocap bones to your rig.
- Rename bones to match if needed.
- Fine-tune the motion using Blender’s Graph Editor.
Step 4: Cleaning and Refining the Animation
Sometimes mocap data includes extra noise or unnecessary keyframes. Don’t worry—Blender has tools to fix that.
Simplify Keyframes
- Open the Graph Editor.
- Use the Simplify Curves option to remove unnecessary keyframes.
- Adjust curves for smoother motion.
Use the NLA Editor
The Non-Linear Animation (NLA) Editor lets you:
- Blend multiple animations (like walk + wave).
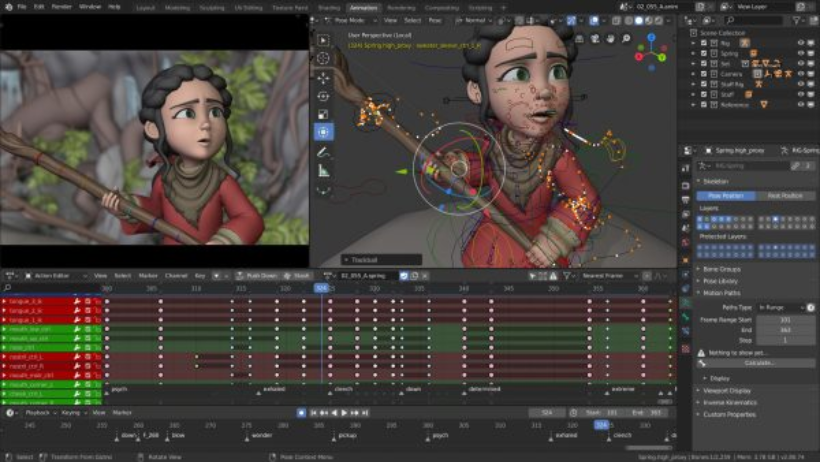
- Add facial or hand gestures on top of body motion.
- Organize your animation into reusable layers.
Step 5: Rendering or Exporting Your Animation
Now that your mocap animation is ready, it’s time to render or export your final result.
For Rendering a Video
- Set your resolution and frame rate in Render Properties.
- Choose output format (MP4 or image sequence).
- Hit Ctrl + F12 to start rendering.
For Game Engines
- Go to File > Export > FBX.
Export your rigged character with animation. - Import it into Unity or Unreal Engine.
Common Issues (and How to Fix Them)
Skeleton Is Misaligned
- Use the S (scale) and R (rotate) tools to fix.
- Check coordinate systems—Z-up vs. Y-up can cause mismatches.
Animation Doesn’t Import
- Open your file in a viewer like FBX Review to check for missing data.
- Re-export from your mocap software with different settings.
Animation Is Too Heavy
- Use Simplify Curves in the Graph Editor to reduce keyframes.
- Enable Simplify in the Render Settings for better performance.
Tips for Better Motion Capture in Blender
- Always apply transforms to your character and skeleton (Ctrl + A > All Transforms).
- Test your mocap data on a basic character first.
- Use NLA to blend animations for more complex performances.
Conclusion
Using motion capture in Blender is one of the fastest ways to animate your characters with realistic movement. With the right tools and a bit of cleanup, you can create game-ready or cinematic-quality animations in no time.
At 3S Cloud Render Farm, we help creators like you render high-quality Blender animations faster with powerful cloud-based systems. Whether you’re working with mocap, VFX, or full CG scenes, we’ve got the power to bring your vision to life.
>> Read more: 3D Rendering Tutorial for Beginners: A Step-by-Step Guide