When it comes to creating stunning 3D animations, Maya 3D rendering is one of the most important steps. It’s the stage where all your hard work — modeling, texturing, and animating — transforms into beautiful visuals ready to share. In this guide, we’ll walk you through key techniques to improve your rendering process, while keeping things simple and efficient.
Why Maya 3D Rendering Matters
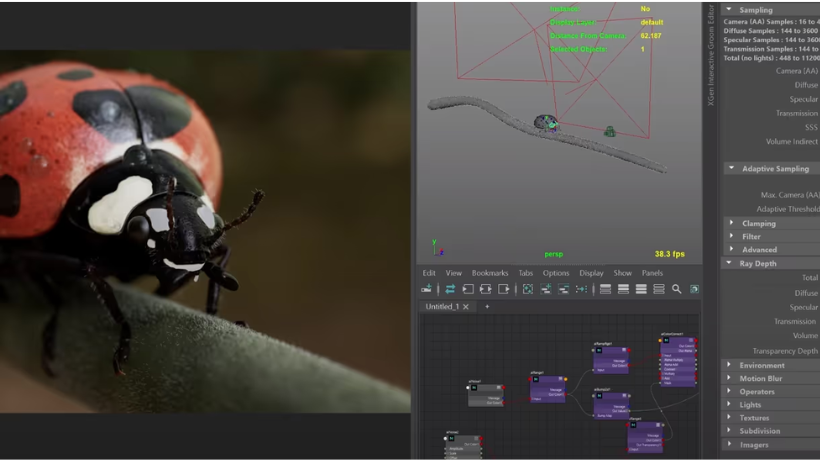
Rendering is the process that turns your 3D scene into a final image or video. With Maya’s powerful rendering tools, especially the built-in Arnold Renderer, you can create realistic lighting, textures, and effects. As a result, your animations can look more lifelike and professional.
Moreover, using a cloud render farm like 3S Cloud Render Farm can speed up the process, allowing you to render large projects without overloading your computer.
Step 1: Prepare Your Animation for Rendering
Before you hit the “Render” button, preparation is key.
- Check your scene setup – Make sure every object is in the right place and visible. Remove unused elements that can slow down the process.
- Optimize your models and textures – Reduce polygon counts and use smaller texture sizes when possible. For far-away objects, apply LOD (Level of Detail) to save resources.
- Set up cameras and lighting – Good lighting changes everything. Try natural light simulations or the classic three-point lighting setup for balanced results.

Step 2: Choose the Right Render Settings
To get the best quality without wasting time, adjust your settings carefully.
- Select your render engine – Arnold is the default for Maya 3D rendering and works great for realistic results.
- Balance quality and speed – Test render with lower settings first, then increase resolution, ray depth, and sampling for the final version.
- Pick the right output format – For animations, image sequences like PNG or EXR are often better than video formats because they’re easier to edit later.
Step 3: Rendering Your Animation
There are two main approaches:
- Batch rendering – This allows Maya to render the whole animation in the background. It’s perfect for overnight rendering or when using a render farm.
- Frame-by-frame rendering – Useful when you only need to re-render specific frames instead of the entire sequence.
While rendering, keep an eye on the progress so you can quickly fix any issues.
Step 4: Export and Composite
Once rendering is done, it’s time to put everything together.
- Export your frames in the best format for your project.
- Composite your animation using tools like Adobe After Effects or Nuke to add color corrections, effects, and polish.
- Combine frames into a video for smooth playback and final delivery.
Step 5: Troubleshoot and Optimize
Even with the best preparation, issues can happen.
- Render errors – Check your hardware limits and settings.
- Lighting problems – Adjust shadow quality, brightness, and light placement.
- Slow rendering – Optimize your scene, reduce unnecessary details, or use a cloud render farm for extra power.
Final Thoughts
Mastering Maya 3D rendering takes practice, but by preparing your scene, using smart settings, and optimizing resources, you can elevate your animation projects to the next level. And remember, with services like 3S Cloud Render Farm, you can save time and render big projects without stressing your own hardware.
So, start applying these techniques today and watch your animations come to life in ways you’ve never seen before.