If you’re new to Blender Rendering, working with textures might feel overwhelming at first. Especially when it comes to something called PBR Textures. But don’t worry — once you understand the basics, things become much easier.
In this blog post, we’ll walk you through what PBR Textures are, why they matter, and how to use them in Blender to improve the realism of your renders.
What Are PBR Textures?
PBR Textures (short for Physically-Based Rendering textures) are special texture maps that work together to simulate how real-world materials look under different lighting conditions.
In other words, they help your 3D models look more natural, polished, and lifelike.
There are several types of PBR texture maps. Let’s take a quick look at the most common ones:
- Albedo / Diffuse – This is the base color of your surface without any lighting or shading.
- Normal Map – Adds surface details without adding extra geometry.
- Roughness Map – Controls how shiny or matte your surface is.
- Metallic Map – Tells Blender if your material is metal or non-metal.
- Height Map (Displacement) – Adds depth by pushing or pulling parts of the surface.
- AO Map (Ambient Occlusion) – Adds soft shadows in creases and corners.
- Specular Map – Controls the reflection intensity and color for non-metal materials.
When used together, these maps create a much more accurate and detailed surface.
Where to Find Free PBR Textures
Now that you know what they are, you’re probably wondering where to get them. Luckily, there are many websites offering free, high-quality PBR Textures. Some great options include:
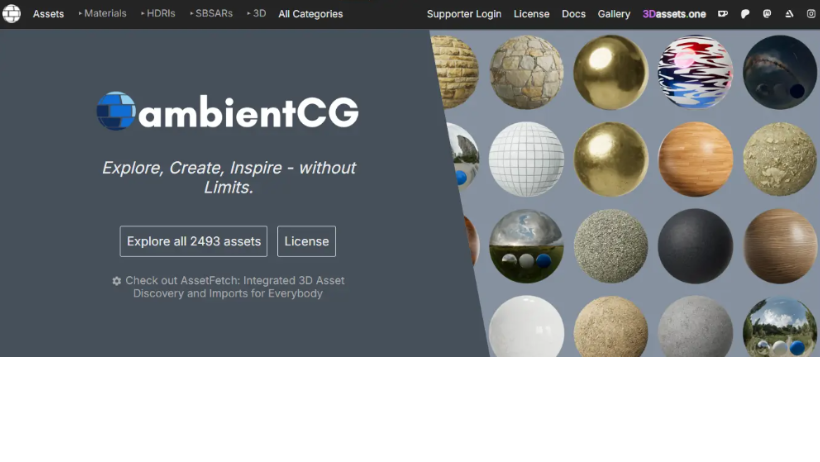
- AmbientCG – Offers textures, HDRIs, and materials for free.
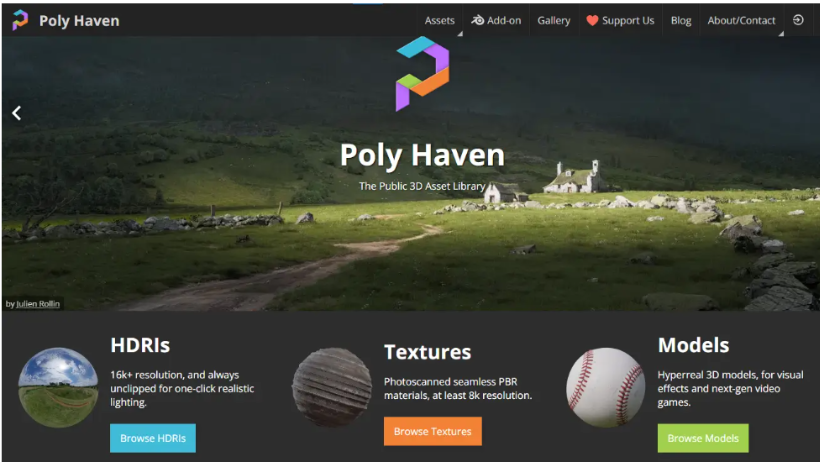
- PolyHaven – Great for free commercial-use textures.
- CG Bookcase – Easy to browse and download.
Once you find a texture you like, just download the ZIP file. Then, unzip it — you’ll find all the maps we listed earlier inside.
How to Use PBR Textures in Blender (Step-by-Step)
Let’s go through a simple setup together:
Step 1:
Open Blender, go to the top-left corner, and click Edit > Preferences. Under “Add-ons,” search for “Node Wrangler” and enable it.
This step will save you time by letting you add all textures automatically.
Step 2:
Open the Shader Editor and drag your model into the scene. Create a new material and switch to the Shader Editor view.
Step 3:
Add a Principled BSDF shader and press Ctrl + Shift + T. This is a shortcut from Node Wrangler. It opens a file browser where you can select all texture maps at once.
Step 4:
Choose the folder where you unzipped your PBR Textures, select the maps, and press Enter. Blender will automatically connect everything for you.
This step alone saves you a lot of time compared to plugging each node in manually.
Quick Fix for Displacement Maps
Sometimes, displacement maps don’t seem to work right away. Here’s how to fix that:
- Go to the Material Properties tab, and under Settings, change “Bump Only” to “Displacement and Bump”.
- Then, adjust the strength of the displacement inside the Shader Editor to something like 0.05 or 0.1.
- As a result, your surfaces will now have more realistic depth.
Why Use PBR Textures?
Using PBR Textures is one of the best ways to improve your Blender rendering results. Not only do they make your models look more professional, but they also allow you to work faster and more efficiently — especially when rendering with a Blender render farm like 3S Cloud Render Farm.
At 3S, we help artists speed up rendering time with powerful servers and support. So if you want faster, high-quality Blender rendering, using PBR Textures is a great place to start.
>> Read more: PBR Materials: How to Create Realistic Textures in Blender