Lighting can be tricky. It often feels complicated at first, but when done right, it can make a huge difference. In fact, the way you light characters can either break your render or make it truly stunning. If you’re using Blender, this guide will walk you through simple yet powerful techniques to improve your character lighting. The best part? You don’t need to be a lighting expert to follow along — just basic knowledge and a bit of creativity.
Let’s get started!
Why Lighting Is So Important?
Before jumping into techniques, let’s quickly understand why lighting matters.
When you light characters well, you add depth, emotion, and realism to your scene. On the other hand, poor lighting can make even the best 3D model look flat or unappealing.
So, if you want to improve your renders, mastering lighting is a must — especially if you’re working in Blender.
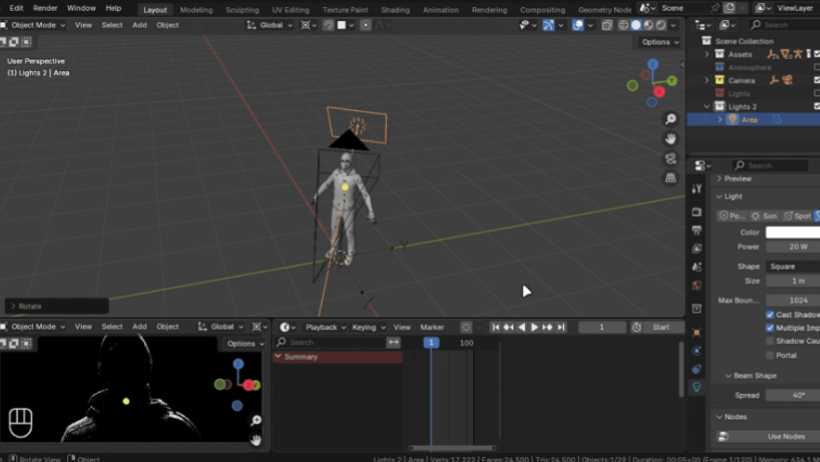
Step 1: Start with a Backlight
The first thing you should do is separate your character from the background. To do this, we use a backlight.
Here’s how:
- Add an Area Light behind your character.
- Match its position and rotation to the camera view, then rotate it 180 degrees.
- Adjust the intensity until you see a nice highlight outlining your character.
This step creates depth and makes your character stand out.
Step 2: Add a Key Light:
Next, let’s add a Key Light. This is the main light that creates contrast and emotion in your scene.
Here’s what you need to do:
- Add another Area Light above and slightly behind the character.
- Rotate it so it shines from an angle.
- Decrease the spread and adjust the brightness.
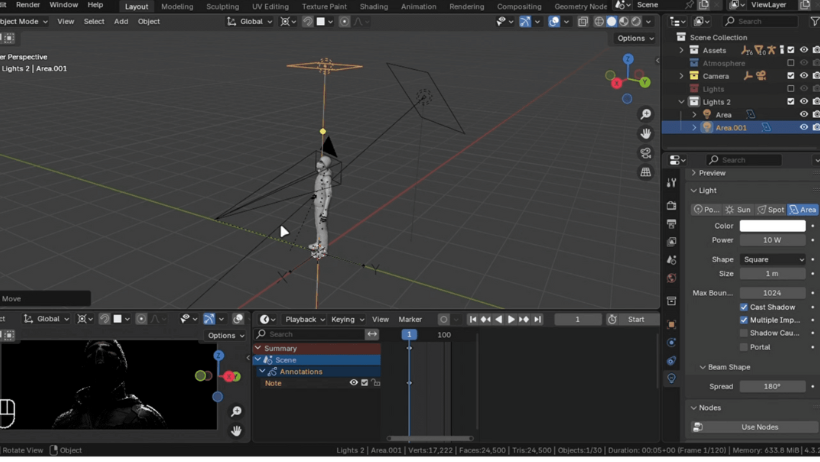
This will cast soft but clear shadows, giving your character a dramatic and cinematic feel.
This technique, known as reverse key lighting, lights the character from the side opposite the camera — often used in films to create a moody look.
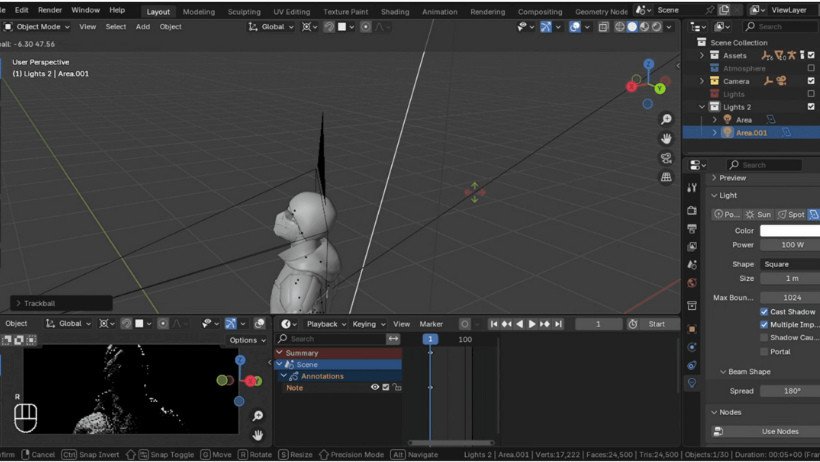
Step 3: Add Emotion/Life:
Want to add emotion to your character? Add a small light to reflect in the eyes.
Here’s how to light character eyes in Blender:
- Add an Area Light close to the eyes until you see a reflection.
- Use light linking so the light affects only the eyes.
- For realistic reflections, use a softbox texture.
Just this small detail can bring your character to life.
Step 4: Use HDRI as a Fill Light (Optional)
If you prefer a more natural look, you can use an HDRI image as a fill light.
- Go to Polyhaven.com and download a 4K HDRI in EXR format.
- In the Blender Shader Editor, switch to the World tab.
- Add an Environment Texture and connect your HDRI.
- Use a Math node set to “Power” with a value of 0.1 for better control.
This adds soft lighting and balances shadows — perfect if you’re not aiming for a dramatic style.
Step 5: Block Unwanted Light
Sometimes, HDRIs or extra lights can over-light your scene. When this happens, use light blocking to fix it.
- Add a Plane in front of the character.
- Give it a black, rough material to absorb light.
- Hide it from the camera (Object Properties > Visibility).
- Scale and position it to block unnecessary light.
This gives you more control over how you light the character and helps preserve your intended mood.
Bonus Tip: Speed Up Blender Rendering with 3S Cloud Render Farm
After you’ve perfected your lighting, rendering your scene in high quality is the next step. However, heavy Blender scenes can slow your system down.
That’s where 3S Cloud Render Farm comes in.
With 3S, you can:
- Render high-quality images faster using powerful cloud GPUs.
- Get real-time results without stressing your computer.
- Enjoy support for Blender and other top 3D tools.
- Keep your work safe with secure cloud storage.
Even better, you can get free credits to start your rendering journey right away.
Conclusion
To sum up, knowing how to light characters correctly is key to stunning results in Blender. With just a few well-placed lights — like a backlight, key light, and optional fill — you can create depth, drama, and emotion in any character scene.
Don’t forget, once your lighting is ready, speed things up with 3S Cloud Render Farm for high-quality rendering without the wait.
Now, it’s your turn to light, render, and impress!
>> Read more: Achieving Stunning Cinematic Lighting in Blender