If you’re wondering how to install Redshift for Houdini, you’ve come to the right place! This step-by-step guide will help you set up Redshift quickly and easily, so you can start rendering faster and better with your favorite 3D software.
Whether you’re new to Houdini or just switching to GPU rendering, this tutorial is perfect for beginners. Let’s get started!
Why Use Redshift for Houdini?
Before diving into the installation, let’s briefly explore why Redshift is a great choice for Houdini.
Redshift is a GPU-based renderer developed by Maxon. Unlike CPU-based renderers like Mantra, Redshift uses your graphics card to speed up render times dramatically. That means you get high-quality images without long waiting times.
Plus, Redshift integrates seamlessly with Houdini and supports advanced features like biased rendering, which helps you balance quality and performance.
What Versions of Houdini Does Redshift Support?
It’s important to match your Redshift version with the right version of Houdini. Here are some common combinations:
- Houdini 18.5.633 → Redshift 3.0.50 to 3.0.62
- Houdini 18.5.672 → Redshift 3.0.53 to 3.0.62
- Houdini 19.0.383 → Redshift 3.0.59 to 3.0.65
- Houdini 19.0.455 → Redshift 3.0.62 to 3.0.66
🔗 Need a visual guide? Watch this tutorial: How to Install Redshift for Houdini – YouTube
Step-by-Step: How to Install Redshift for Houdini
Let’s break down the process into three easy steps.
Step 1: Download the Right Version
First, go to the official Maxon Redshift download page and choose the Redshift version that matches your Houdini version (see list above).
After downloading, extract the installation files.
Step 2: Install Redshift on Your Computer
Once extracted, run the .exe installer. By default, Redshift will install to:
makefile
C:\ProgramData\Redshift\
Inside this folder, you’ll find:
- The main Redshift program
Plugins for Houdini - Your license and log files
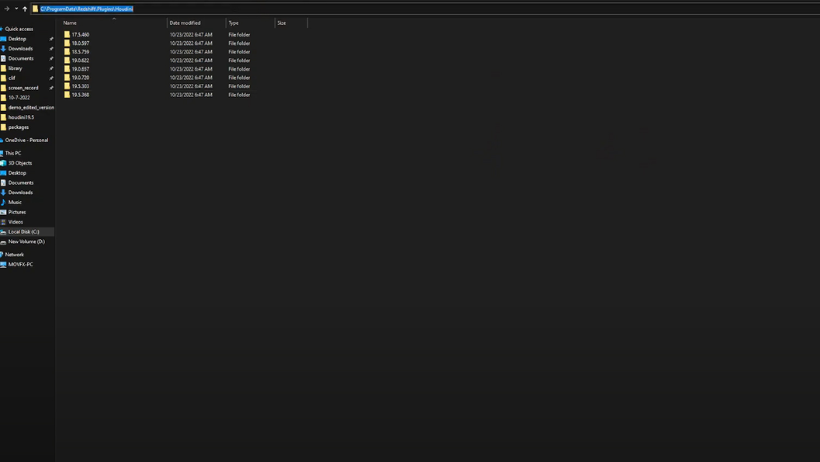
💡 Important: The Houdini plugin will be located at:
C:\ProgramData\Redshift\Plugins\Houdini
Step 3: Link Redshift to Houdini with a Package File
Now it’s time to let Houdini know where Redshift is.
- Navigate to your Houdini installation directory (usually in Documents\houdini19.5 or your Houdini version folder).
- Create a new folder called:
packages - Inside that folder, create a new file named:
redshift.json - Open the file in Notepad and paste the following code:
{
“env”: [
{“REDSHIFT_ROOT”: “C:/ProgramData/Redshift”},
{“HOUDINI_PATH”: “${REDSHIFT_ROOT}/Plugins/Houdini/${HOUDINI_VERSION}”},
{“PXR_PLUGINPATH_NAME”: “${REDSHIFT_ROOT}/Plugins/Solaris/${HOUDINI_VERSION}”},
{“PATH”: “${REDSHIFT_ROOT}/bin”}
]
}
- Save and close the file.
Final Step: Launch Houdini and Test Redshift
Now, open Houdini. If everything was done correctly, you should see Redshift available in the render menu.
Congratulations—you’ve completed the setup!
Common Issues to Avoid
- Redshift doesn’t show up? Double-check your paths in the JSON file.
- Wrong plugin version? Be sure your Houdini and Redshift versions are compatible.
- Using a render farm? Make sure the farm supports Redshift for Houdini (many SaaS-based farms do not).
Conclusion
As you can see, learning how to install Redshift for Houdini isn’t as hard as it seems. With just a few steps, you’ll be ready to render faster and more efficiently using GPU power.
Don’t forget to check out the video tutorial here if you want a full walkthrough.
Need faster rendering? 3S Cloud Render Farm supports Redshift for Houdini, helping you cut render times and deliver top-quality visuals. Try it today!