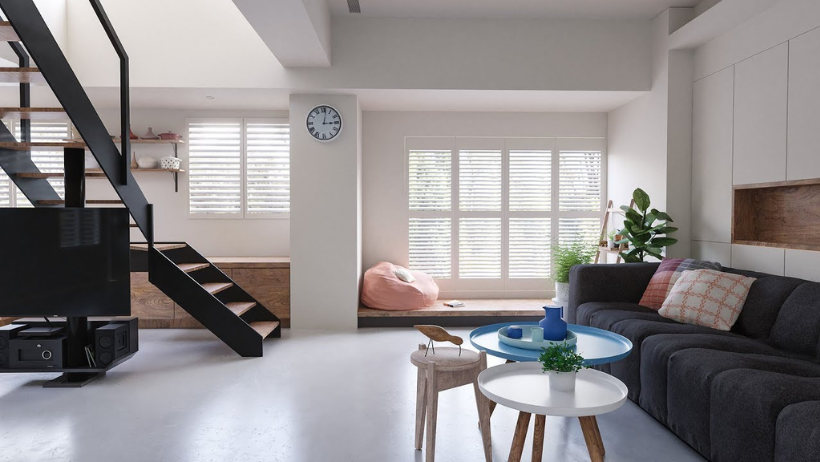
If you’re passionate about 3D design and want to bring your interior design ideas to life, Blender is one of the best tools to start with. It’s free, powerful, and perfect for both beginners and professionals. In this guide, we’ll show you how to create interior design in Blender—step by step.
Whether you’re decorating a cozy bedroom, modeling a modern kitchen, or designing a stylish office, Blender gives you everything you need. And don’t worry, we’ll keep things simple!
Why Use Blender for Interior Design?
Before we dive in, let’s answer a common question: Why choose Blender?
- It’s free and open-source
- It offers realistic rendering and lighting options
- You can import free 3D models and textures easily
- It supports animation, which is useful if you want to walk through your space
That’s why so many interior designers and architects use interior design in Blender to create their professional portfolios.
Step-by-Step: How to Create Interior Design in Blender
Now, let’s go through the basic steps you can follow to build your interior scene.
1. Start with Room Layout
First, open Blender and create the basic structure of your room using planes and cubes. These will be your walls, floor, and ceiling.
Tip: Use the “Archimesh” add-on to speed up this process. It helps you quickly build walls, windows, and even furniture.
2. Add Furniture and Decor
Next, fill your room with furniture and interior items. You can create these objects from scratch or use free 3D models available online.
Some popular sources include:
- BlenderKit
- Sketchfab
- CGTrader (free section)
3. Apply Materials and Textures
Now it’s time to make your space look realistic. Apply textures to your walls, floors, furniture, and decor items. Blender’s Shader Editor lets you adjust how materials behave under light.
Try to use PBR textures (physically based rendering) for the best results.
4. Add Lighting
Lighting is what makes or breaks a great render. For interior design in Blender, use a combination of:
- HDRI lighting for natural daylight
- Point or area lights for lamps and fixtures
- Sun lamp for directional sunlight through windows
Experiment with light positions until your scene looks balanced.
5. Camera Setup and Final Render
Before rendering, place your camera at the right angles to capture your design. Use wide-angle lenses to show the whole room, and close-ups for details.
Once everything is set, use Blender’s Cycles or Eevee render engine to generate your final image.
Need a Visual Guide?
If you prefer learning by watching, here’s a great video tutorial that walks you through the process of creating interior design in Blender from start to finish.
🎥 Watch the full tutorial on YouTube
Pro Tip: Speed Up Your Renders with 3S Cloud Render Farm
Rendering interior scenes with realistic lighting and high-quality assets can take a lot of time. That’s where 3S Cloud Render Farm comes in.
With powerful servers optimized for Blender, you can:
- Render your interior designs much faster
- Work on large projects without worrying about RAM or GPU limits
- Use our easy interface to upload and manage your projects anytime
Don’t let your hardware slow you down—let 3S handle the heavy lifting!
Conclusion
To sum up, interior design in Blender is easier than you think. With the right tools, good lighting, and a bit of practice, you can create stunning spaces in no time.
So, open Blender, start designing, and let your creativity flow. And when it’s time to render, remember—we’re here to help you do it faster.
👉 Try 3S Cloud Render Farm today and take your interior designs to the next level.
>>> Read more: How Blender 4.3 Elevates 3D Home Design?