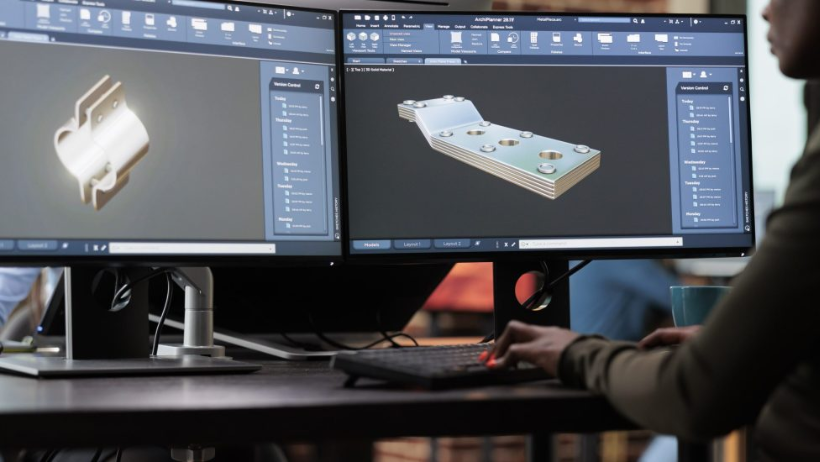
When it comes to design, clearly presenting your ideas is just as important as creating them. That is why AutoCAD 3D rendering is such a powerful feature. It allows you to turn simple 3D models into realistic images that clients, teams, and stakeholders can easily understand.
Although AutoCAD is often known for 2D drafting, it also provides strong tools for 3D rendering. With the right techniques, you can add materials, lights, and shadows to make your designs look lifelike. In this blog, we will explore how to get started, the key features you should use, and tips for producing better visual results.
Why Use AutoCAD 3D Rendering?
First of all, AutoCAD 3D rendering gives you the chance to present your projects more professionally. Instead of flat sketches, you can show realistic previews that look close to the final product.
Moreover, rendering helps you identify design issues earlier. Because you can see how light, texture, and materials interact, you can make changes before construction or production. As a result, you save both time and money.
Key Features That Improve Rendering
To create high-quality visuals, you should understand the main features of AutoCAD 3D rendering:
- Materials and Textures
You can apply realistic surfaces such as wood, glass, or metal. In addition, textures allow you to add depth and detail to your design. - Lighting Control
With AutoCAD, you can adjust natural and artificial light. For example, you can add a sun angle to simulate daylight or use lamps to highlight interior spaces. - Shadows and Reflections
Shadows add realism, while reflections create depth. Together, they make your render look more natural. - Cameras and Viewpoints
By setting up custom cameras, you decide exactly how your design will be viewed. This makes presentations much stronger.
Practical Tips for Better Visual Output
Now that you know the features, let’s go through some practical tips:
- Use the Right Materials: Always select textures that match real-life surfaces. This makes your renders believable.
- Balance Lighting: Too much light washes out the image; too little makes it dull. Therefore, experiment with different settings.
- Optimize File Size: Heavy models can slow down rendering. On the other hand, simplifying unnecessary details speeds up the process.
- Test Different Angles: Try multiple camera views to find the best way to showcase your design.
- Use Cloud Rendering: Tools like 3S Cloud Render Farm give you extra power to process complex scenes quickly. As a result, you save time while maintaining high quality.
How to Start Learning AutoCAD 3D Rendering
Getting started with AutoCAD 3D rendering may feel overwhelming, but small steps help you progress faster:
- Begin with simple models and basic materials.
- Experiment with different lighting conditions.
- Explore built-in rendering presets before creating your own.
- Watch tutorials or join an online course for structured learning.
- Finally, practice consistently—because the more you practice, the better your visuals will be.
Conclusion
To sum up, AutoCAD 3D rendering is not just about making designs look pretty. It is a vital tool for communication, problem-solving, and winning client approval. By learning how to use materials, lighting, and cloud rendering solutions, you can create visuals that are both clear and professional.
At 3S Cloud Render Farm, we support designers, engineers, and architects with scalable rendering power. Whether your project is small or large, our cloud solutions ensure you get faster, better results.
So, start experimenting with AutoCAD 3D rendering today—and watch your designs come to life!
=> Read more: 3D Rendering Tutorial for Beginners: A Step-by-Step Guide