In the world of digital creativity, 3D rendering has become the cornerstone of visual storytelling. Whether you are crafting immersive environments for games, photorealistic product visualizations, or breathtaking animations, the rendering process transforms your 3D models into lifelike images that will captivate audiences and inspire. In this blog, we will help you have a comprehensive view about 3D rendering and its outstanding benefits.
What is 3D Rendering?
For those who do not know, basically, at its core, 3D rendering is the process of converting 3D models into 2D images or animations using specialized software such as Blender, Arnold and Modelo. It involves simulating light, shadows, textures, reflections, and materials to achieve visual realism – or stylized aesthetics, depending on your project goals.
Types of 3D Rendering
There are various types of 3D rendering methods:
1. Rasterization
Rasterization is the most widely used in 3D rendering, this method projects the 3D geometry onto a flat surface (the screen) and then fills in the resulting shapes (usually triangles) with pixels. Usually, in making video games, VR/AR, and simulations rely on high frame rates (60 FPS or more), the rasterization method handles well. It quickly converts 3D data into 2D images, keeping performance smooth and responsive.
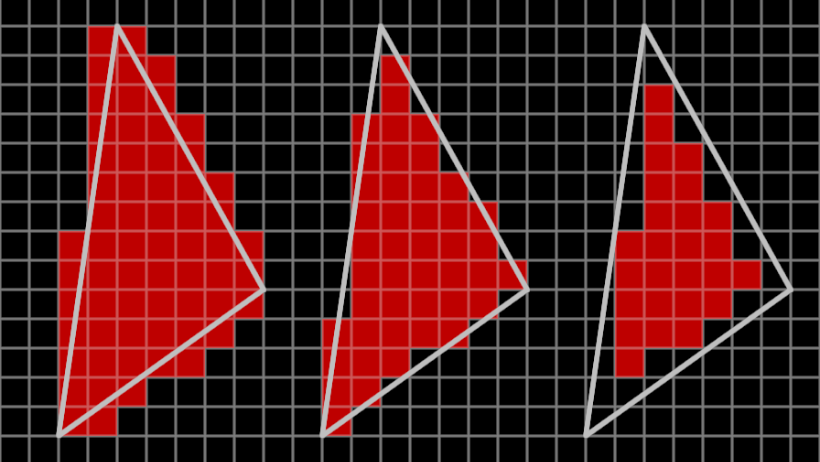
Source: Hackaday
Key Advantages:
- Very fast: Ideal for real-time applications like video games.
- Hardware-accelerated: Modern GPUs are optimized for rasterization pipelines.
- Efficient: Handles millions of triangles per second.
Limitations of Rasterization:
- Not physically accurate: Rasterization approximates lighting and shadows, so it’s less realistic than ray tracing.
- Hard to simulate complex effects: Such as global illumination, caustics, or reflections, without hacks or workarounds.
2. Ray Casting
Moving to the next 3D rendering method, ray casting. Ray casting is a simpler precursor to ray tracing. In this method, rays are projected from the camera (or viewer’s eye) into the scene to determine the first surface they intersect. Ray casting is primarily used for visibility determination and basic shading, but it doesn’t simulate lighting effects like reflection, refraction, or shadowing.
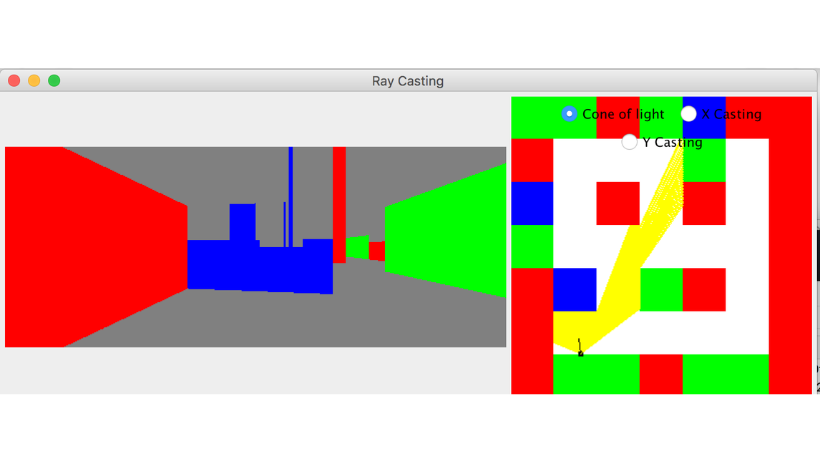
Source: Stackoverflow
Key Advantages:
- Simple and efficient for visibility determination: Great for basic rendering tasks like determining which object is visible at a given pixel.
- Accurate intersection detection: Precisely where rays intersect with geometry, useful for selection tools, hit detection, or basic shadows.
- Lightweight and easy to implement: Ray casting requires fewer computations than ray tracing, making it suitable for real-time applications or simpler engines.
Limitations of Ray Casting:
- No realistic lighting or shading: Ray casting does not simulate lighting, shadows, reflections, or reflections – it only determines visibility.
- Flat and unnatural results: Since it lacks lighting models, the output looks flat and unrealistic compared to ray tracing or even advanced rasterization.
- Limited scalability for complex scenes: While efficient for simple scenes, performance can degrade with large numbers of objects if not optimized.
>>> Read more: The Best 3D Modeling Software for Beginners
3. Ray Tracing
As mentioned above, in 3D rendering, ray tracing builds upon ray casting but takes it further by simulating the actual behavior of light. Rays are traced from the camera into the scene, and when they hit a surface, they may reflect, refract, or spawn secondary rays. This allows for accurate rendering of shadows, reflections, global illumination, caustics, and more – producing photorealistic results.
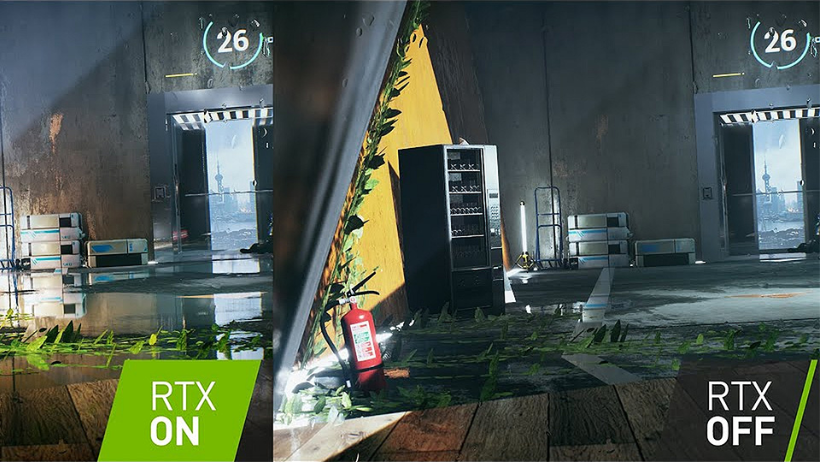
Source: TopZone
Key Advantages:
- Physically accurate: Ray tracing simulates real-world light interactions for highly realistic images
- Realistic effects: It handles reflections, refractions, shadows, and global illumination with high fidelity
- High visual quality: Preferred for movies, architecture, and product visualization due to its ability to produce lifelike renders.
Limitations of Ray Tracing:
- Computationally expensive: Significantly slower than rasterization or ray casting, especially for high-resolution frames.
- Requires powerful hardware: Unlike rasterization, ray tracing 3D rendering method demands GPUs with ray tracing capabilities (e.g. NVIDIA, RTX or similar).
- Not ideal for real-time use without optimization: Though real-time ray tracing is advancing, it still needs techniques like denoising and hybrid rendering to be practical in games.
4. Interactive Rendering
Interactive rendering is another terrific method, this is a 3D rendering technique where the system continuously updates the image in response to user input or scene changes – in near real-time. It allows artists, designers, and developers to manipulate camera angles, lighting, geometry, or materials and instantly see the effects, often without waiting for a full re-render.
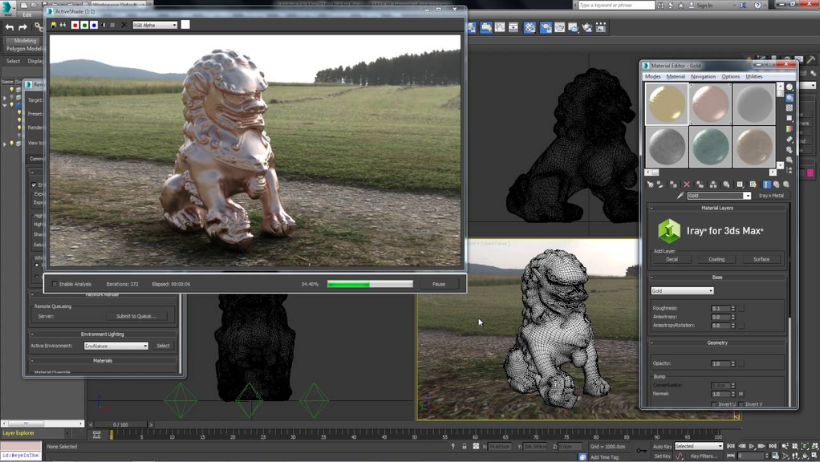
Source: Youtube
Key Advantages:
- User-friendly: Interactive rendering is great for non-technical users or clients to interact with and understand 3D scenes for models easily.
- Immediate feedback loop: Artists can tweak lighting, materials, and geometry and see the effects in real time – speeding up creative decisions.
- Hybrid rendering support: This rendering method can combine fast rasterization with selective ray tracing (e.g., reflections, ambient occlusion) for booth speed and quality.
Limitations of Interactive Rendering:
- Lower quality compared to offline rendering: To keep performance real-time, it may reduce image quality – fewer samples, less accurate lighting.
- Hardware-dependent: Interactive rendering requires powerful GPUs or rendering engines to maintain smooth frame rates, especially with complex scenes.
- Limited realism: While it can approximate effects like shadows or reflections, it often uses real-time shortcuts rather than full physical simulation.
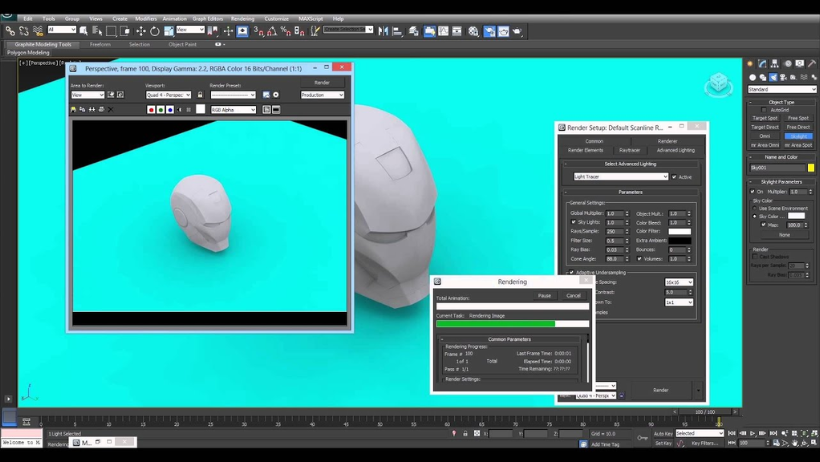
5. Scanline 3D Rendering
Unlike other methods, scanline rendering is a 3D rendering technique that processes the image one horizontal line (or scanline) at a time, rather than pixel-by-pixel or ray-by-ray. For each scanline, the renderer determines which polygons (usually triangles) intersect it and then fills in the visible fragments. It was commonly used in older real-time graphics engines and early CGI (e.g., Pixar’s Toy Story) and still finds embedded systems, mobile graphics, or hardware-limited platforms.
Source: Youtube
Key Advantages:
- Fast rendering: Scanline rendering processes only visible polygons per scanline, making it more efficient than per-pixel methods like ray tracing.
- Hardware-friendly: Well-suited to older GPUs or custom graphics hardware with tight resource constraints.
- Efficient memory usage: This method doesn’t require storing the entire scene in memory at once; works line by line, minimizing memory consumption.
Limitations of Scanline Rendering:
- Poor handling of transparency and shadows: Requires extra passes or sorting (e.g., painter’s algorithm), which can become messy and imprecise.
- Not physically accurate: Like rasterization, it doesn’t naturally simulate complex lighting, reflections, or refractions.
Boost Your Workflow with 3D Cloud Render Farm
In conclusion, 3D rendering is no longer just a technical step – it’s the visual heartbeat of modern digital creation. From lightning-fast rasterization to hyper-realistic ray tracing, each method offers unique strengths depending on your project’s needs. However, with higher quality comes greater computing demand, and that’s where cloud rendering becomes essential.
If you’re looking for a reliable and user-friendly render farm, 3S Cloud Render Farm is a top choice. With support for leading software like Blender, Maya, and Cinema 4D, 3S Cloud Render Farm helps you meet tight deadlines and bring your creative vision to life!