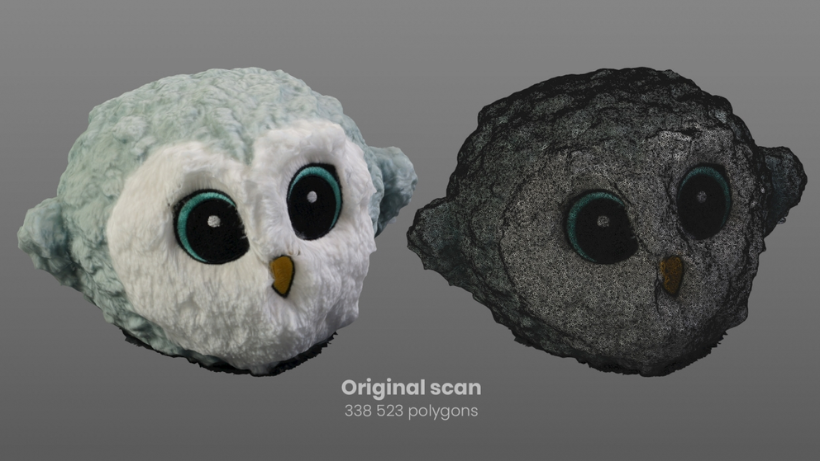
Creating detailed 3D scenes is exciting. But if your files are too heavy or slow, your whole workflow suffers. That’s why 3D asset optimization is so important. With the right steps, you can cut render time, reduce lag, and make your files easier to manage.
This guide shows you the top 3D asset optimization techniques used by pros. We’ll break down each step so you can apply them right away.

What Is 3D Asset Optimization?
3D asset optimization is the process of reducing the complexity of your 3D models. It makes them faster to load, easier to render, and lighter to store. You’re not lowering quality—you’re making smart changes to boost performance.
Whether you work in games, films, VR, or product design, optimizing assets is a must. It helps both in real-time playback and final rendering.
Why Is 3D Asset Optimization Important?
There are many reasons to optimize your models:
- Faster render times
- Lower RAM and GPU usage
- Smooth viewport navigation
- Smaller file sizes for easier sharing
- Fewer crashes or errors
Also, optimized assets help a lot when using cloud services or render farms.
Top 3D Asset Optimization Techniques
Let’s dive into the best techniques you can start using today.
1. Reduce Polygon Count
High poly models look great, but they slow everything down. Use retopology tools or decimation modifiers to lower the polygon count.
- Use quads instead of triangles
- Focus detail only where it matters
- LOD (Level of Detail) for real-time engines
This one step can make your assets 10x lighter without visible loss.
2. Use Texture Atlases
Instead of many small textures, combine them into one atlas. This reduces draw calls and speeds up rendering.
- Combine UVs in one sheet
- Use 2K or 4K maps efficiently
- Bake AO, roughness, and metallic in RGB channels
Texture atlases are key for real-time engines like Unity or Unreal.
3. Optimize UV Mapping
Good UVs help with texture space and performance. Keep them clean and non-overlapping unless needed.
- Use the full texture space
- Avoid stretching and seams
- Align UVs to reduce pixel waste
Clean UVs also improve baking results.
4. Bake High-Poly Details
Instead of using heavy geometry, bake details into normal maps. This gives the illusion of depth without real geometry.
- Bake normals, ambient occlusion, curvature
- Use cage meshes for clean bakes
- Export to 8-bit PNG or 16-bit TIFF
This is perfect for game models or real-time apps.
5. Use Instancing for Repeated Assets
Don’t duplicate geometry for repeated items. Use instances or linked duplicates.
- Save memory by referencing, not copying
- Work well for trees, chairs, lights
- Supported in Blender, Maya, and Unreal
Instancing keeps your file size low without losing detail.
6. Compress Textures
Large textures can eat up memory fast. Compress them to reduce size.
- Use JPEG or WebP for previews
- Use DDS or KTX for engines
- Downscale where 4K is overkill
Compressed textures help with render speed and file export.
7. Remove Hidden Geometry
Delete parts of the model that won’t be seen. It’s common in interior scenes or animations.
- Hide backsides or inner faces
- Use camera culling where possible
- Avoid modeling too much behind walls
This reduces poly count and speeds up rendering.
8. Merge Static Meshes
Merge objects that don’t need to move. This reduces draw calls and boosts performance.
- Group by material
- Avoid merging animated or dynamic parts
- Recalculate normals if needed
This is useful in architectural or product renders.
9. Use Proxy Objects
In large scenes, proxies can help you stay fast.
- Replace high-poly objects with low-res versions
- Swap in the final model at render time
- Common in V-Ray, Arnold, and Blender
Proxies are great when handling huge environments.
10. Keep File Structures Clean
A messy scene slows everyone down. Keep your naming and folders tidy.
- Name all assets clearly
- Use layers or collections
- Group related assets in folders
This helps you manage scenes and speeds up loading.
>>> Read more: How to Choose the Right 3D Modeling and Rendering Services for Your Business?
Bonus: Use Render Farms Wisely
Even with optimized assets, rendering can be slow. That’s where cloud rendering comes in.
Upload your optimized scene to a farm. You’ll get results fast without overheating your PC.
Final Thoughts
3D asset optimization is the secret weapon of every smart 3D artist. It saves time, cuts stress, and lets you work faster.
Whether you’re making games or animations, applying these techniques will improve your entire workflow.
Need Speed? Use 3S Cloud Render Farm
Still need faster results? Try 3S Cloud Render Farm. It supports Blender, Maya, Cinema 4D, and more. With optimized assets, you’ll render even faster.